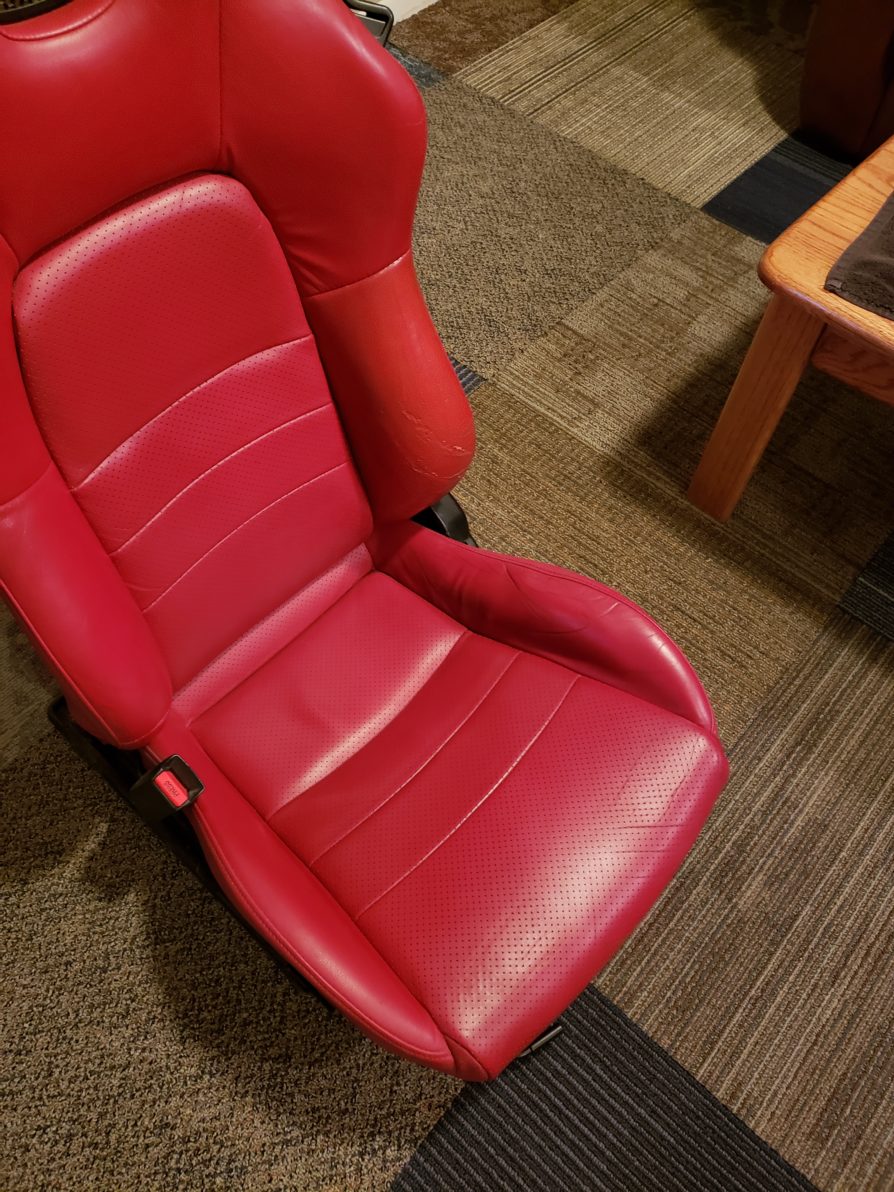
Today we are going to be repairing the driver’s side seat bolster, particularly the thigh bolster in the seat pan. To do this job, you will need to remove the seat and then partially remove the seat leather so you can access the seat foam.
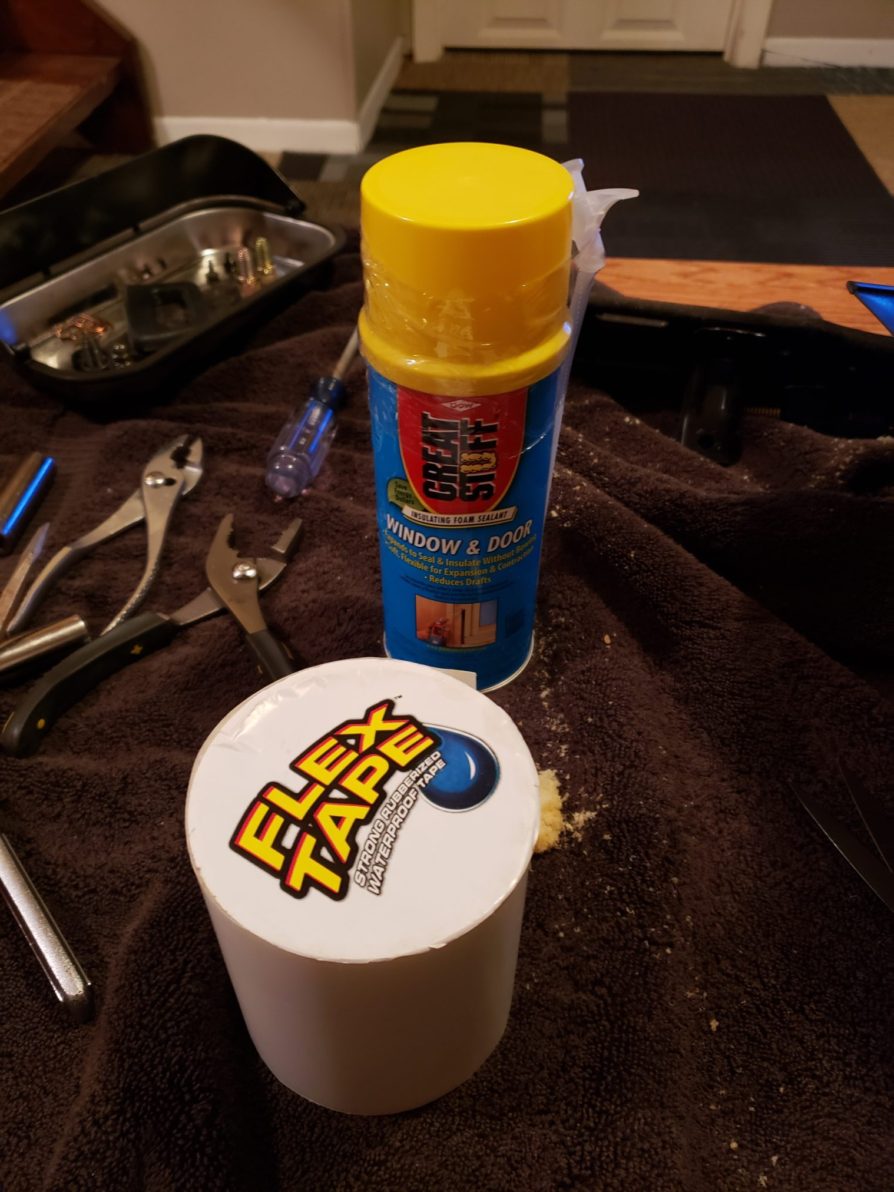
Tools Needed:
Remove the seats. 2x12MM bolts at the front, 2x14MM bolts at the rear. Also don’t forget to disconnect the seat belt light wiring. Yank the seat out of the car and take it to your work space. Note: when you reinstall the seats, make sure the front of the rails are lined up before you install. The backs are offset. A simple way to know you are correct is to flip the seat and count the notches from the front of the seat lock mechanism to the front of the rail. It should be even on both sides. I was off by one and the bolt hole didn’t line up.
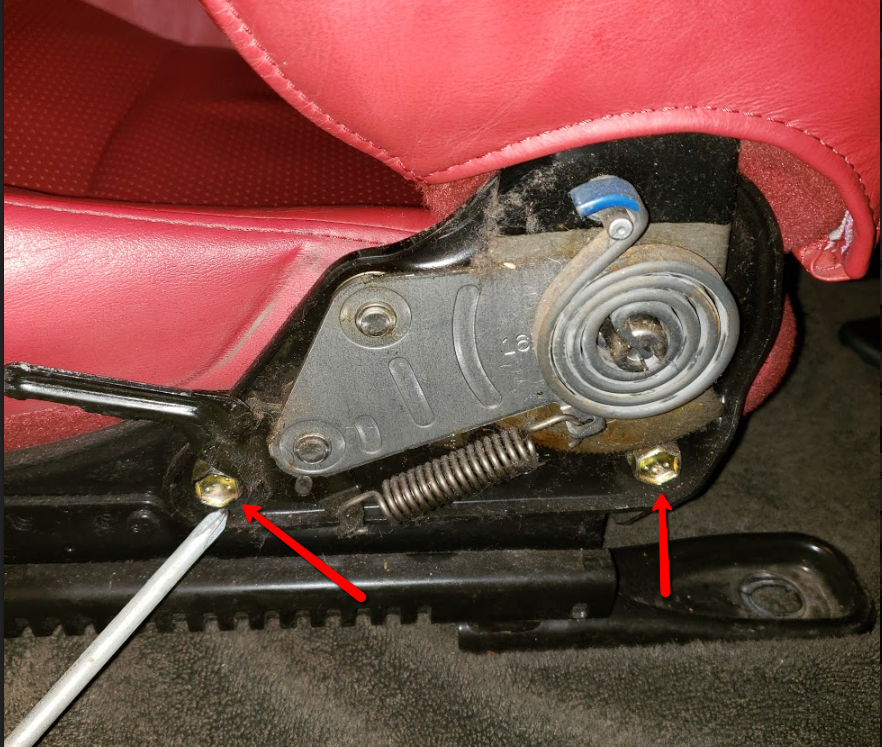
Next you have to take the seat back off of the seat pan so you can get to what you need to be doing. There is 1 14MM nut on the left side (facing the seat by the seatbelt receiver) and then 2 16MM bolts on the right side. However to get at the 2 16MM bolts you have to remove the plastic side cover. This is done by removing 2 Philips screws and then prying off the pull handle with a screwdriver. It’s a bit of a faff but you’ll get it.

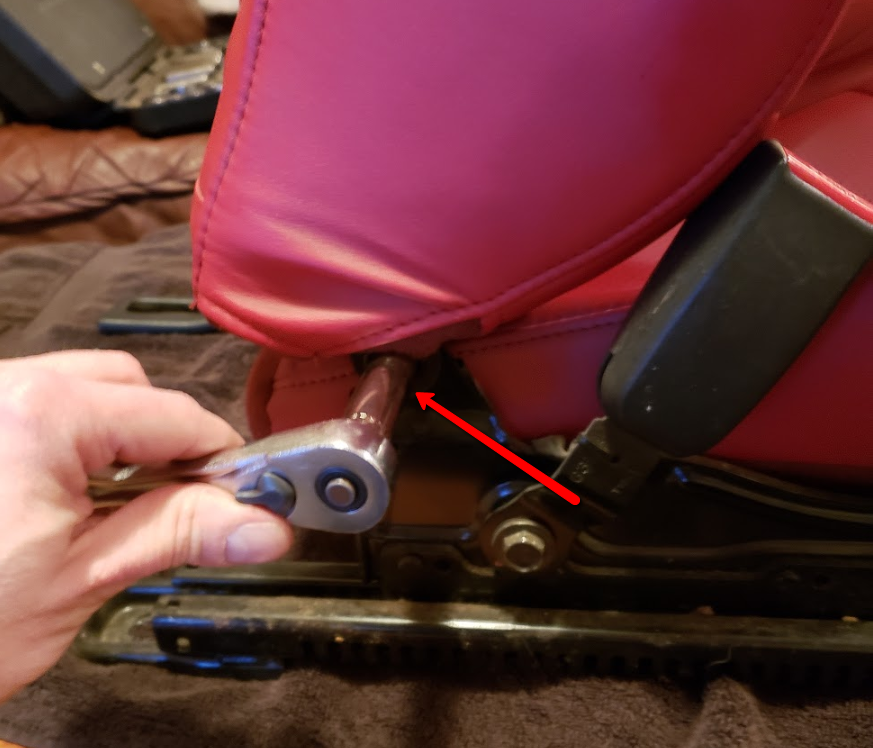
Flip the seat pan upside down and remove the seat rails (2 14MM nuts).
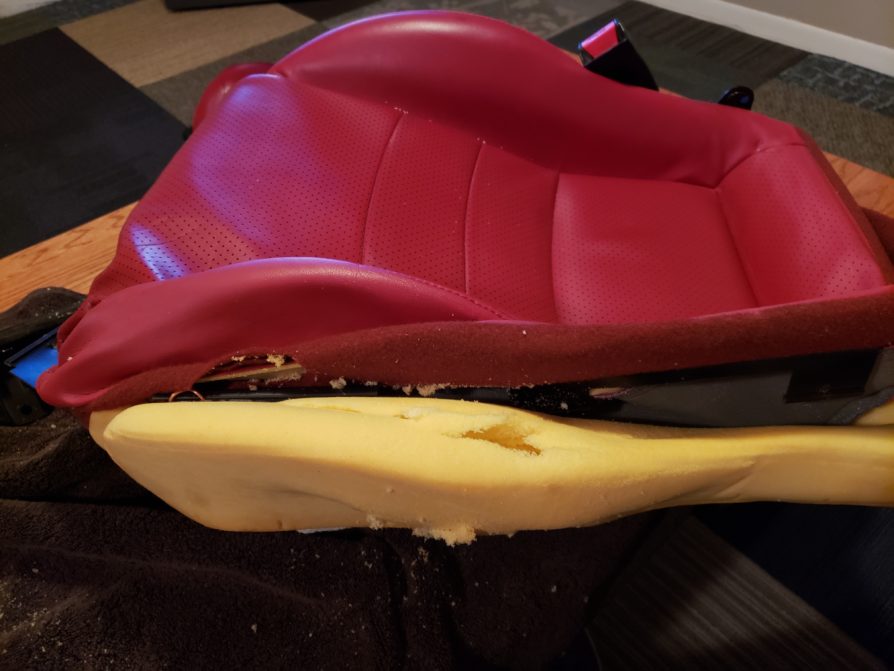
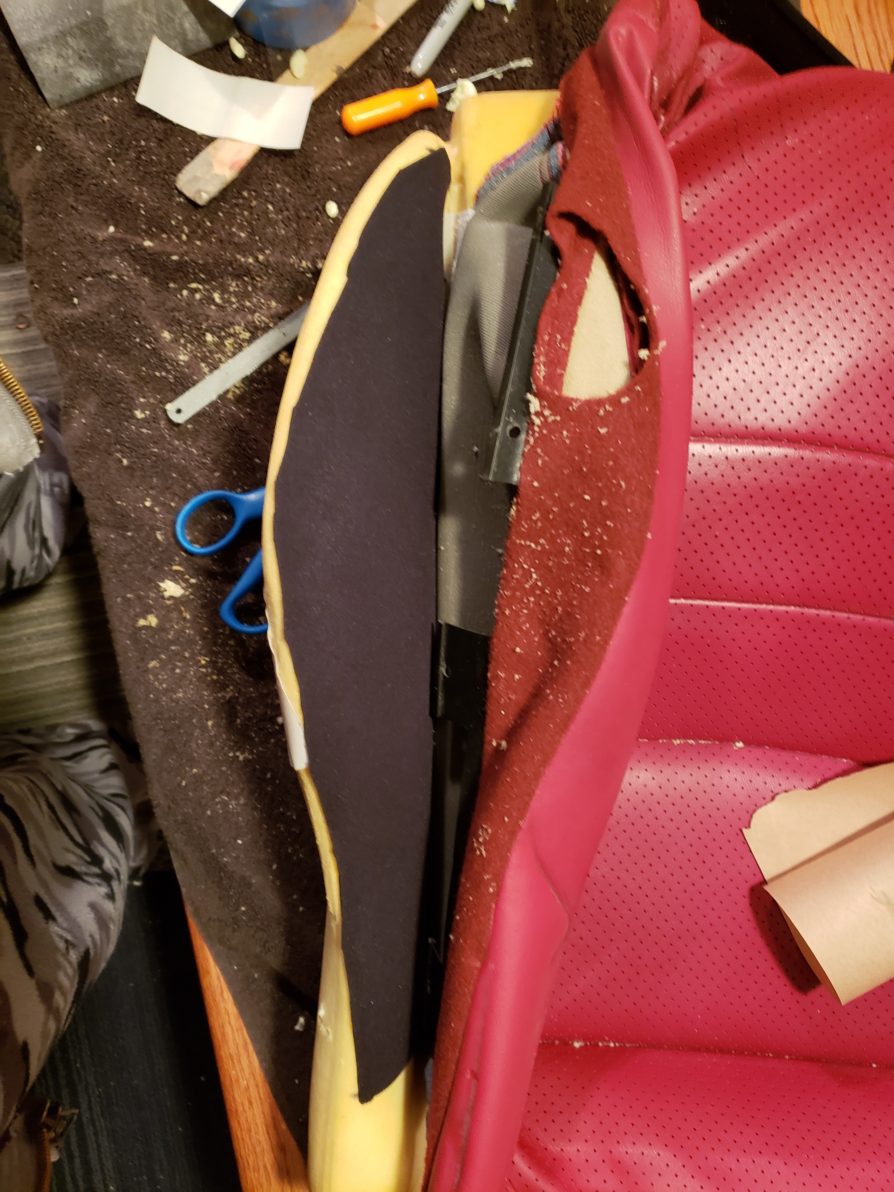
The leather seat cover is held on by several hog rings. Use a screwdriver or pliers to separate the rings. Gently peel the leather cover back to reveal the seat foam. You only need to remove enough rings to be able to peel up the cover to see the foam bolster you want to repair. Otherwise you will have more hog rings to remove and will definitely need hog ring pliers to reinstall the entire cushion. Only remove what you need to.

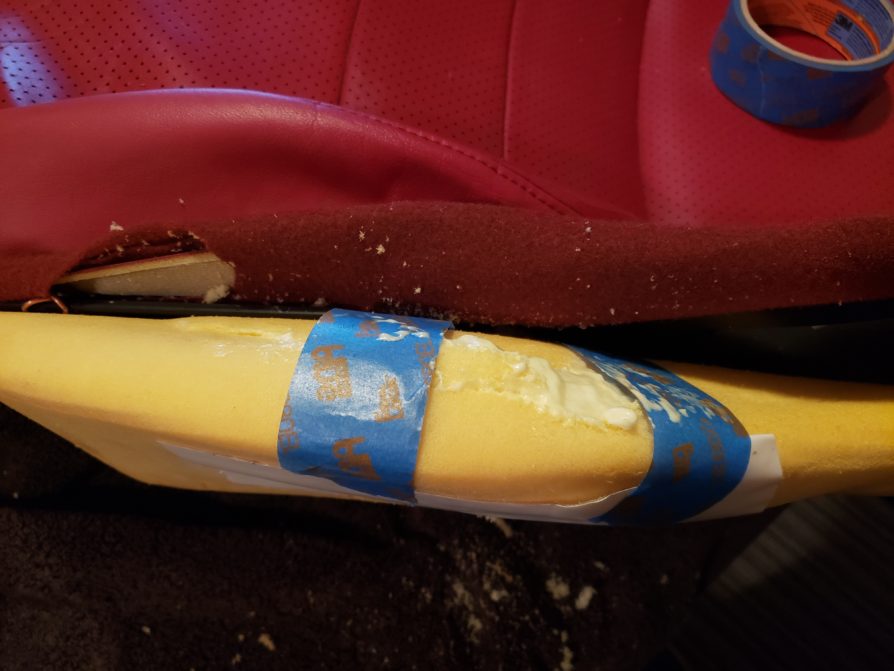
As shown further down, use duct tape on the outer edge to provide some form to the foam and give it structure since it has clearly broken down and torn. You don’t want the bolster to expand as you are just filling in the collapsed dead spots with new foam. You can either use expanding spray foam to do this or you can cut up a sponge and stuff it in. In my case, I chose to give the bolster its shape and structure using FlexSeal tape and then sprayed in the expanding foam so that it would give rigidity internally. I chose this method because it seemed to me that this would bond to the foam internally and bind everything together. Let the expanding foam cure and then trim it with a fine tooth hacksaw blade or a nice, sharp serrated bread knife. You will also need to fine tune it with a sanding sponge or Dremel with sander attachment. I used both.
Honestly, I got a little over zealous with the spray foam so it required a lot of cutting and shaping with a Dremel tool and sanding block. I didn’t realize how much of the texture of the foam bolster could be seen when the leather was back in place so I decided to smooth this out with a piece of neoprene fabric. This would actually help provide more structure and support as well. I took some rosin paper to make a quick template of the bolster and then used some 6mm neoprene I had lying around. I cut it to shape, tested the fit, trimmed some more and then glued it in place with Gorilla Glue contact adhesive sprayed on both the bolster and neoprene fabric. After it was dry, I trimmed the top edge of the fabric with a razor so it would have a smooth transition where the seam is on the actual leather seat cover. This helped to smooth everything out and look sharper at that transition.
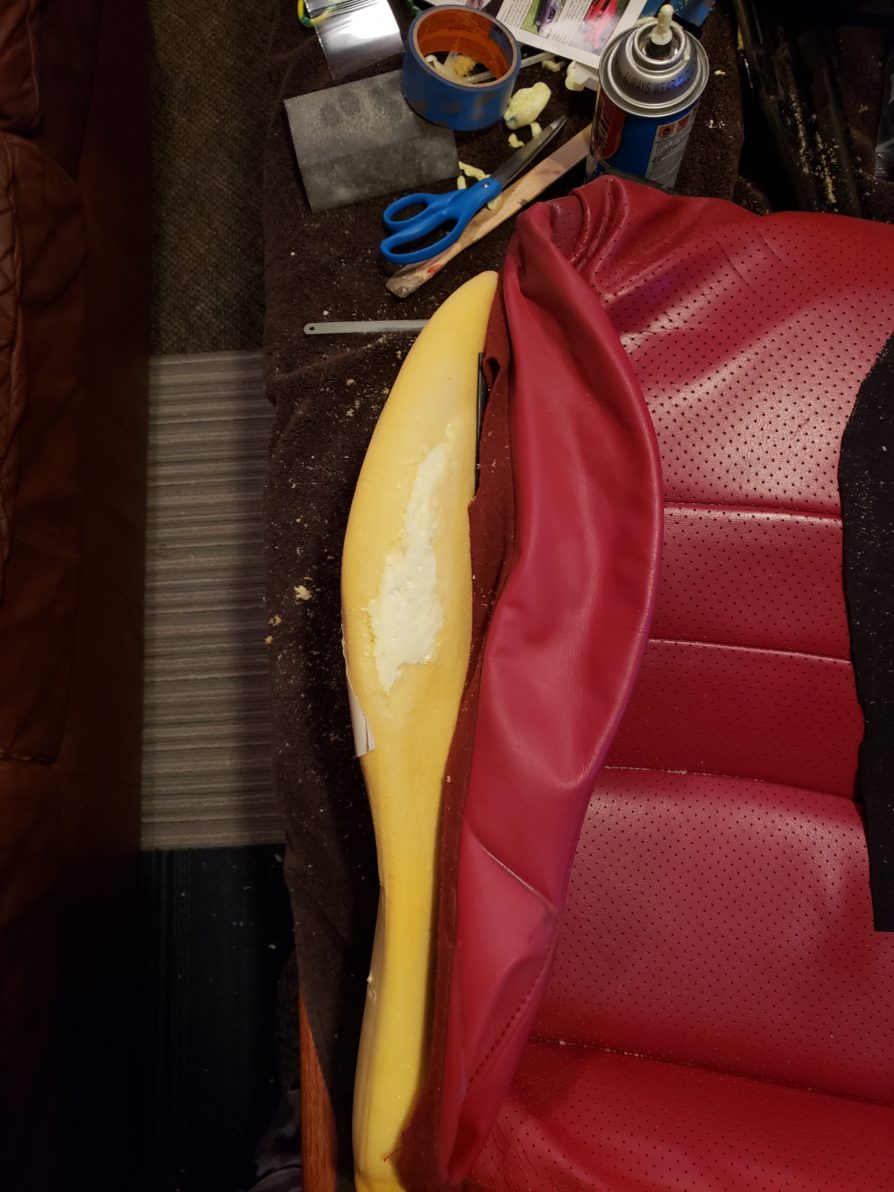
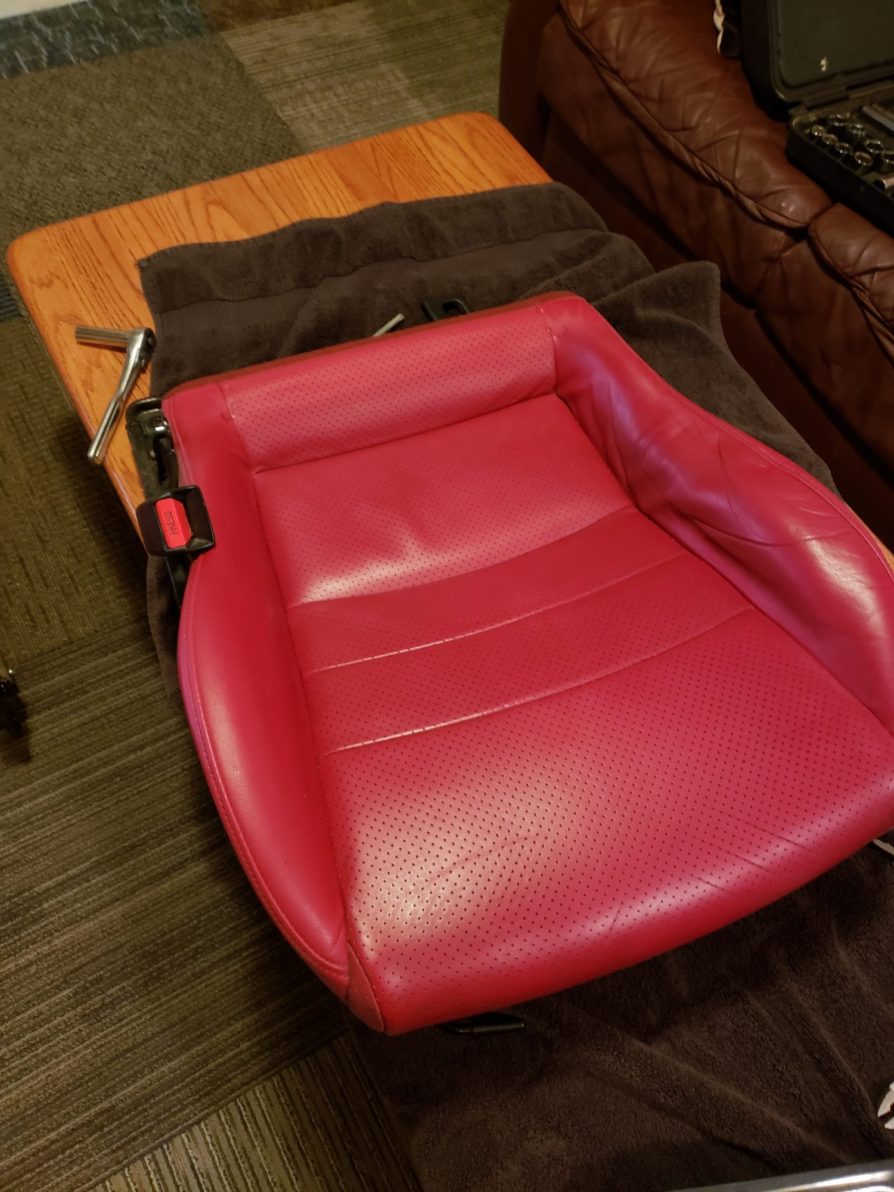
The picture below illustrates the almost complete repair with the neoprene in place but not yet cut to shape and glued. I put the leather cover in place several times to see how the fit was before trimming the neoprene. I wanted to make sure there was beveled edge on the neoprene at the stitching so you couldn’t see that there was additional padding at all. I was really happy with this result because you can’t tell anything was done when the repair is complete and it should last for years.
To begin reassembly, carefully wrap the leather back in place and secure it to the seat pan again. Check to make sure you are happy with the bolster’s look before securing it with hog rings in the same spots you removed the old ones. You can use zip ties if you want.
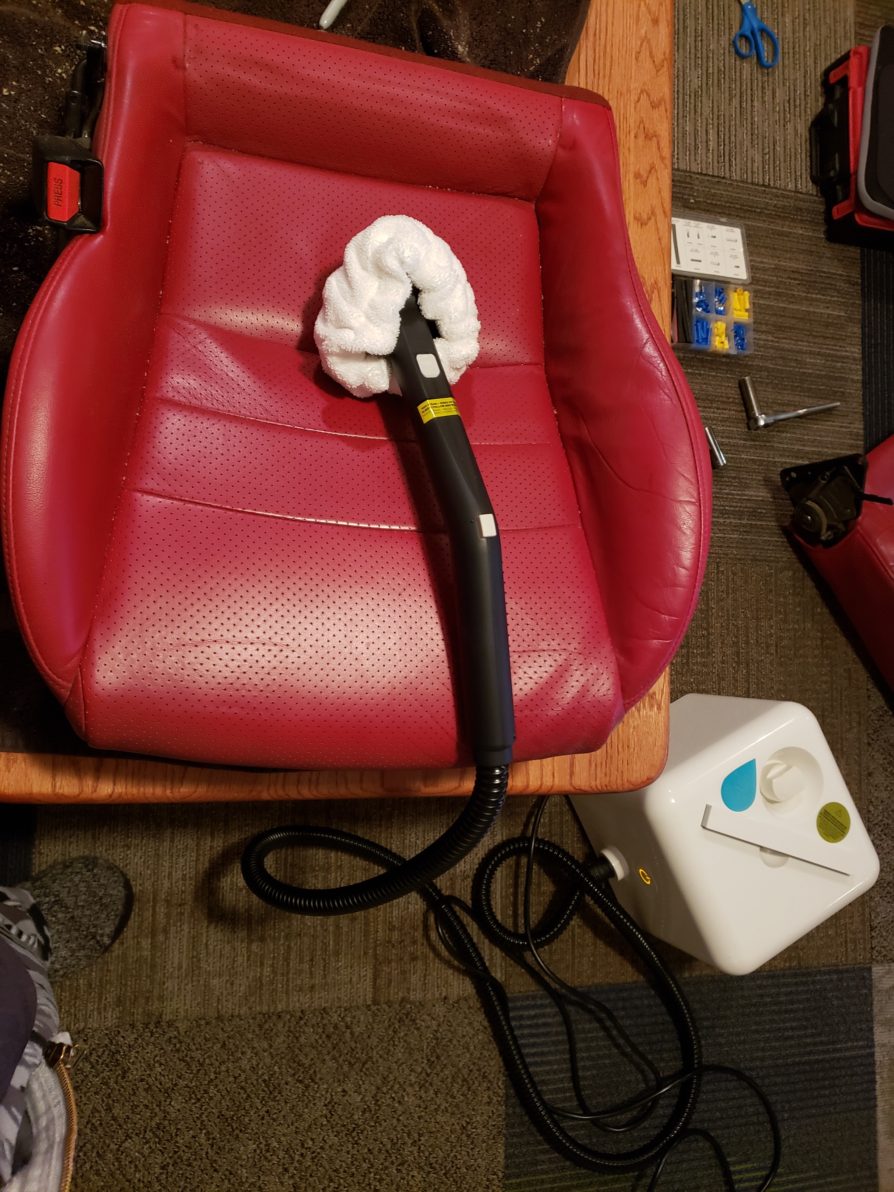
Attach the rails and then attach the seat back with the required bolts. Reattach the plastic cover and pull lever. Line up your seat tracks before trying to reinstall the seat into the car. A quick note: You may want to vacuum and steam clean the carpet in the car with the seat out. This is a perfect time for that!
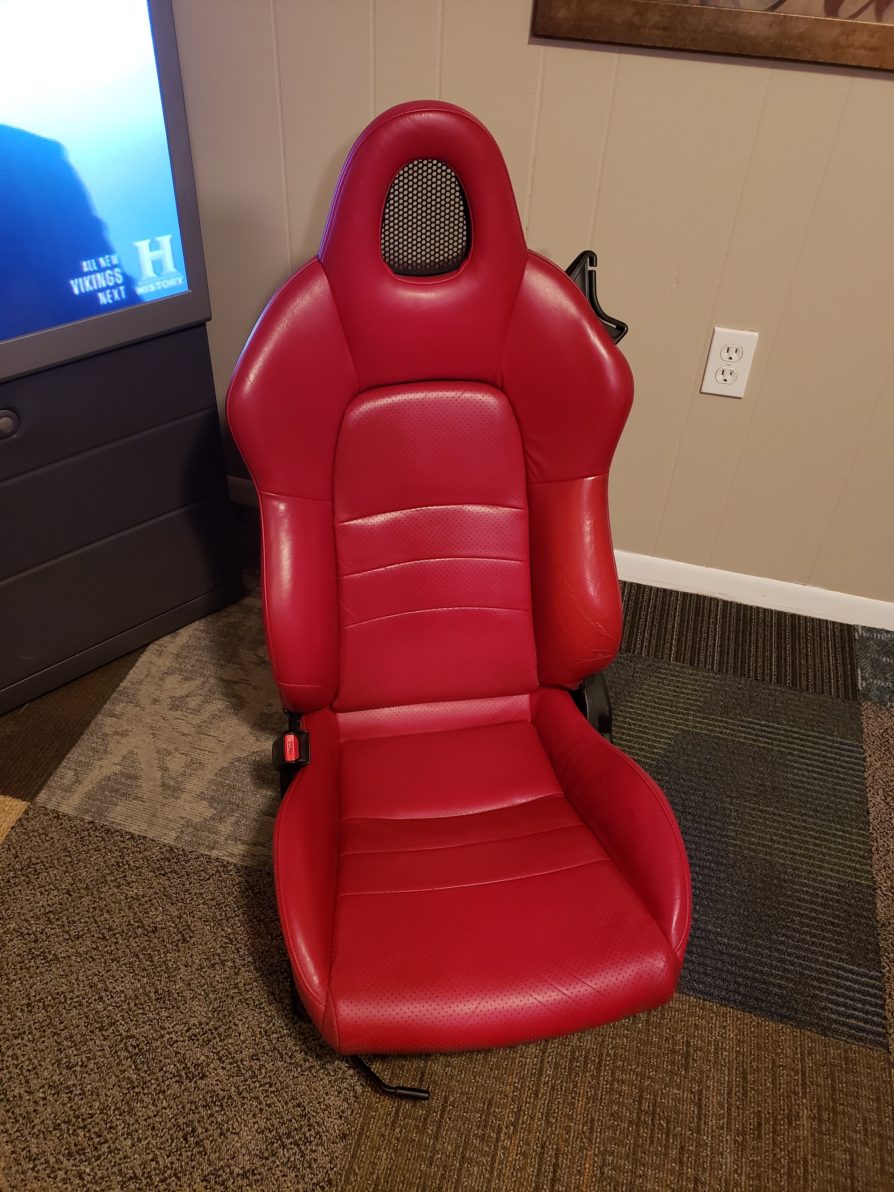
Here is the finished product after a steam clean and reconditioning the leather. Notice the thigh bolster is nice looking again and the restored innards have smoothed out some of the wrinkling. This should hold up for years. It isn’t perfect but when replacement seat pan foam is $250+, it makes sense to try a cheap repair first. The worst that can happen is that you don’t like it and buy new foam so why not at least give it a try?
Total cost of this repair was just a few bucks. I had the spray foam, adhesive and FlexSeal tape already and the neoprene came from an old scuba wetsuit.
This was a pretty easy repair. I think it will last for a long time but I am also going to be careful about getting in the car. It isn’t perfect but I am limited by the condition of the leather after being crushed and creased for so long. The creases held dirt which I removed with steam but the creases are there to stay, much to my chagrin.
My next project is to dye the upper bolster red using a kit from https://www.leathertouchupdye.com/
I will dye both seats to get a consistent look. I found out recently that Honda actually used three shades of red on the Honda S2000. (1999-2003 darker shade and a lighter shade from 2004-2005 and another closer to the original red in 2007-2009) Many leather dye places only acknowledge that Honda 89 is the red used from 99-09. I ended up taking a door card off and cutting a piece of leather from the excess material so I could send it in for a custom mix. The custom mix is $25 more but I feel is is worth it because I like the darker, richer red that it already has. I could have saved a little time and money just ordering Honda 89 and dying the seats and door cards but why?
To follow the repair of the upper bolster and re-dying the seats you can click here to be taken to that article.

Copyright 2024 Sledgehammer Performance - All Rights Reserved